Save to My DOJO
Desktop virtualization has been around for a while now and many companies are still looking to implement it in their environment. While the initial installation is usually the easy part, managing it on a day to day basis can sometimes prove challenging. Having solid monitoring of the whole IT infrastructure is crucial to the IT department and Horizon is obviously part of it.
Thankfully VMware offers an adapter (plugin) for their monitoring platform vRealize Operations Manager to keep track of the virtual desktop infrastructure.
The installation of vRops for Horizon can be broken down into the following few sections:
-
Deployment and initial configuration of the vRops appliance.
-
Installation of the Horizon agents.
-
Configuration of the vCenter and Horizon adapters in vRops.
-
Installation and configuration of the Horizon Broker on a Connection Server.
Initial deployment
I won’t depict the deployment of the appliance as it is just like any other appliance. Select the resources, port-group, size and specify the network details (IP, mask, gateway…).
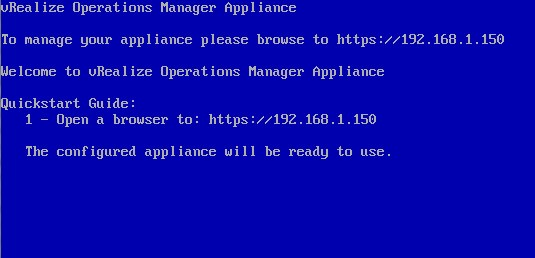
Once the VM is deployed, open a browser and point it to the specified IP:
https://@IP-vRops
-
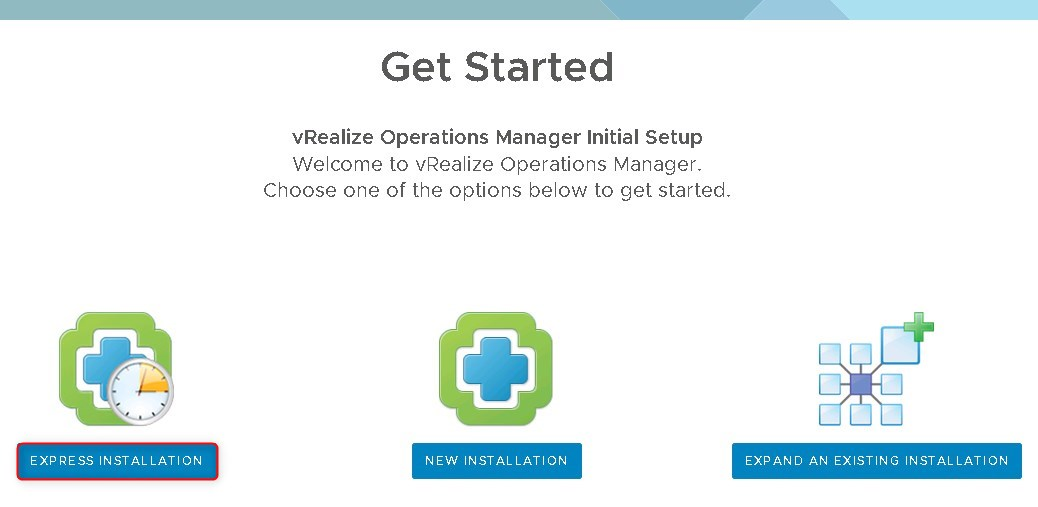
The landing page lets you choose between 3 choices. I chose the first one “Express Installation” here.
The second one allows you to configure more components such as a certificate and availability settings. The third option lets you add the new node to an existing vRops cluster.
-
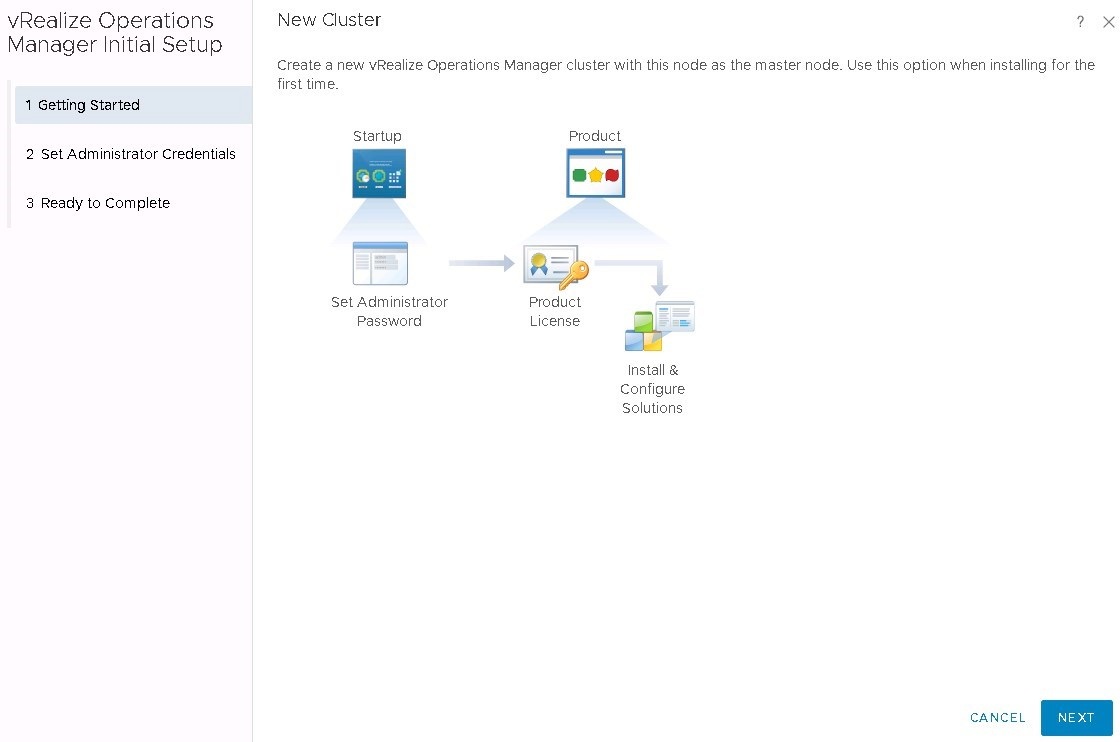
The first page shows you what is going to be installed. Click Next.
-
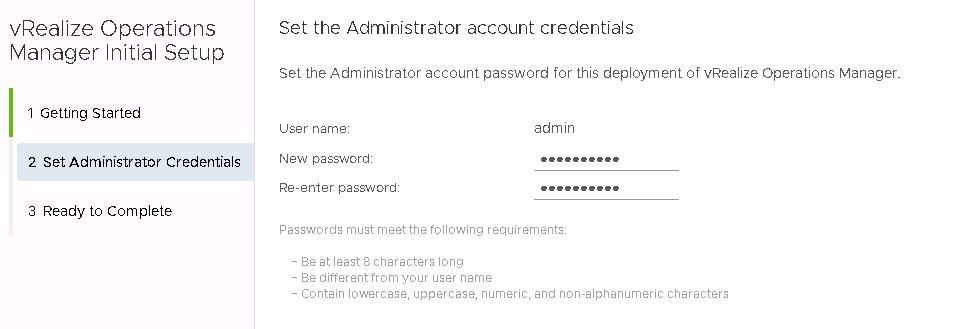
Type the password for the admin user. You will use this account to configure the appliance and log in vRops.
-
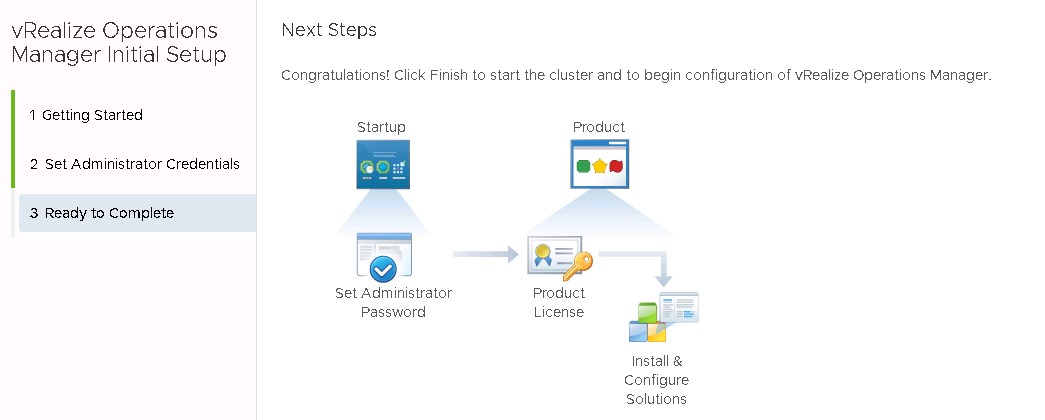
Complete the setup by clicking Finish. Quick and easy.
-
Wait a few minutes for the preparation to complete.
-
Once finished you can open the admin page and wait for the cluster status to come online.
https://@IP-vRops/admin
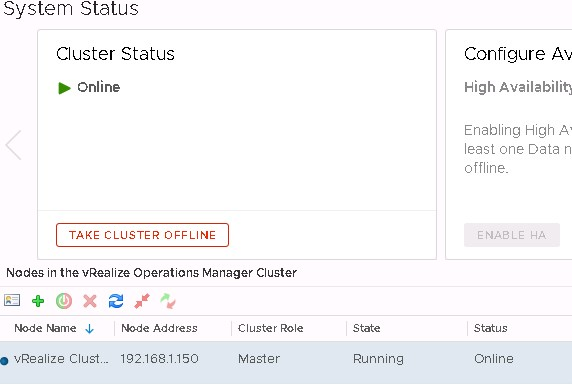
From the admin page, you can also configure password recovery settings in Administrator Settings, install a new certificate and change NTP settings.
-
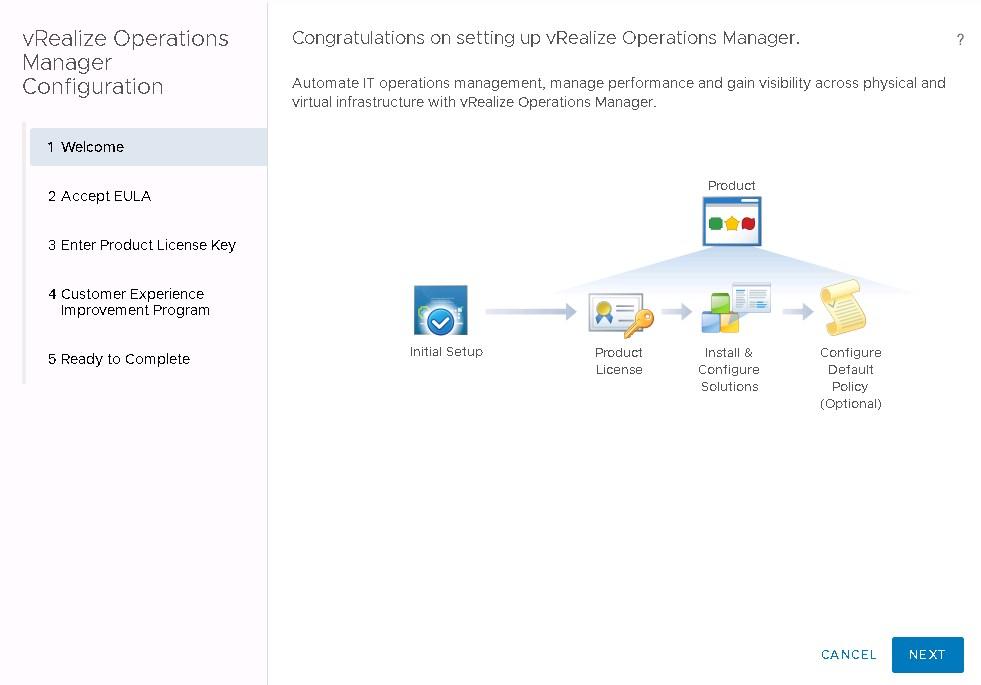
Once the cluster is online, point the browser back to the standard page to complete the setup. It will take you through the process of initializing the appliance. Click Next on the first pane.
https://@IP-vRops
-
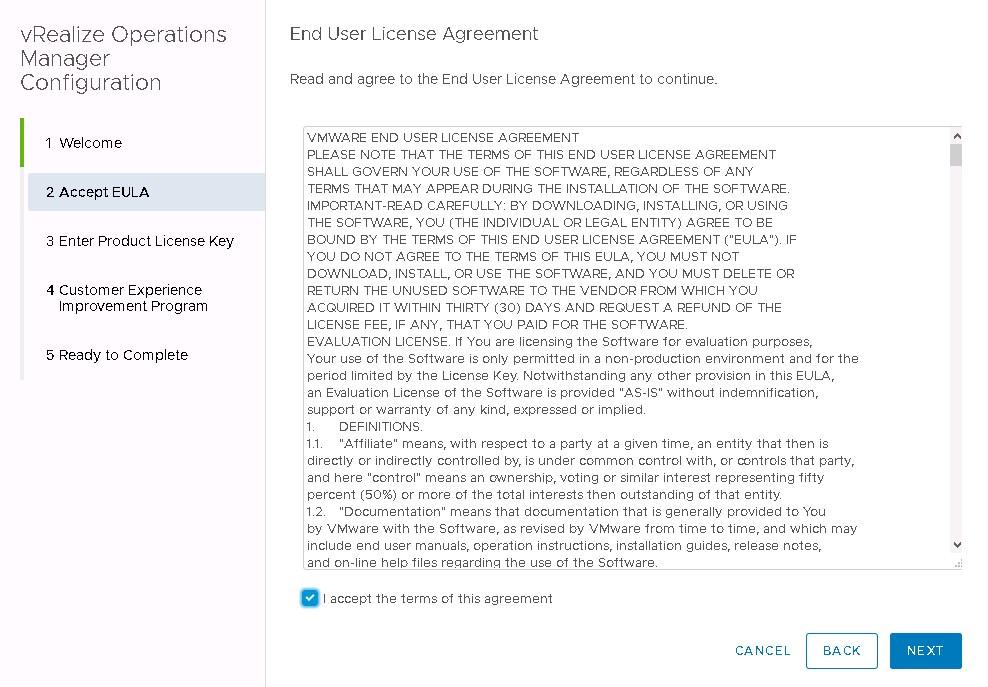
Accept the EULA and click Next.
-
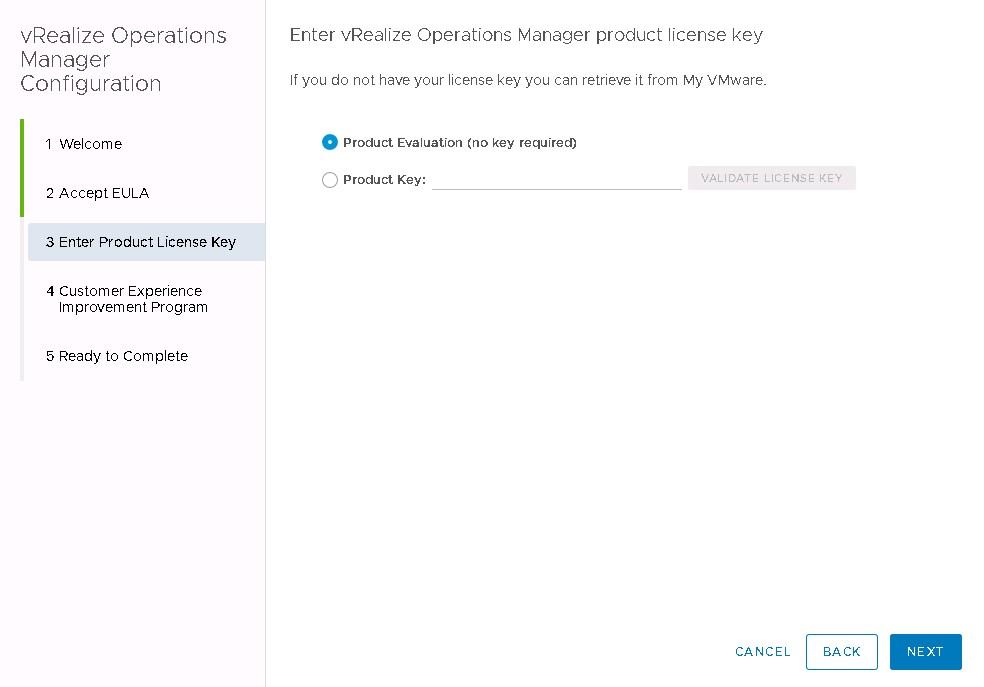
Type your Operations Manager product key if you have one. Otherwise, you can leave the default to run the evaluation period and enter your key later on. Click Next.
-
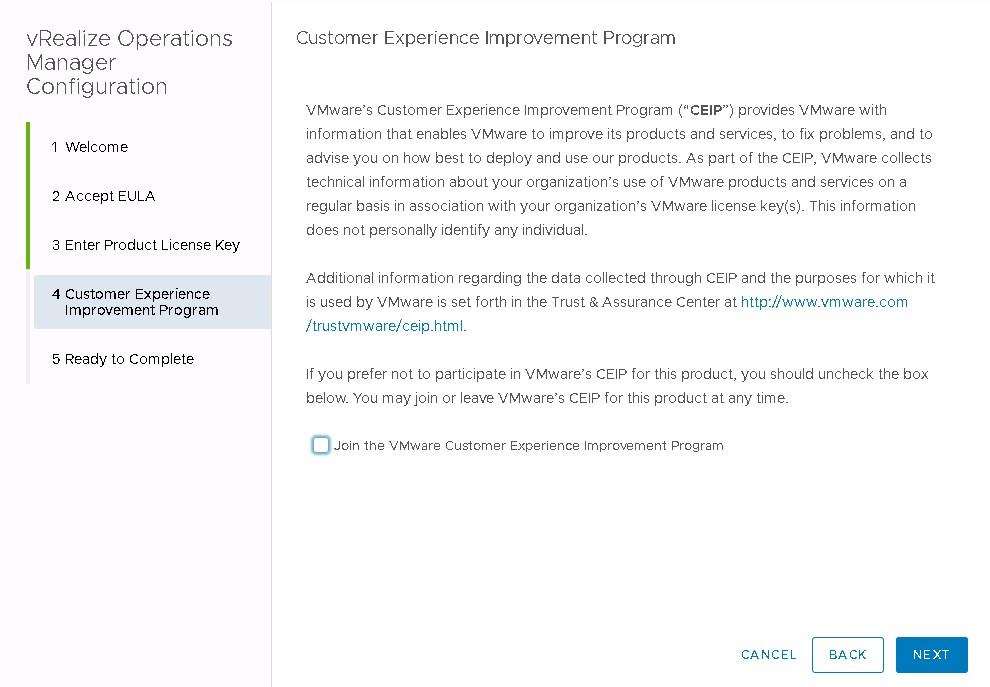
You can choose to join the CEIP. I don’t as my lab doesn’t have internet access. Click Next.
-
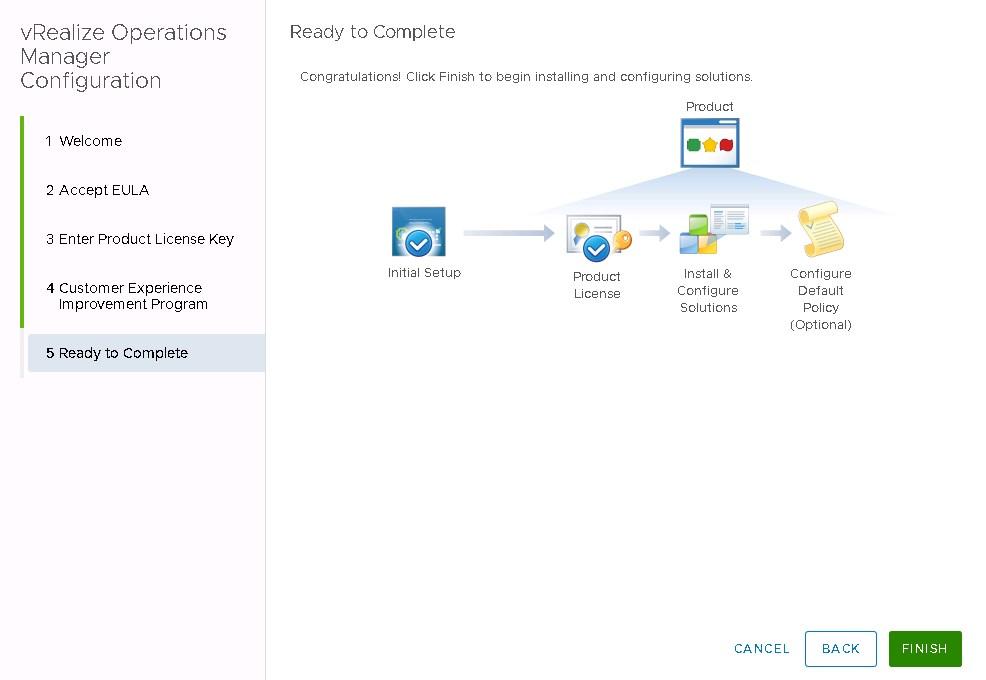
Complete the wizard by clicking Finish.
-
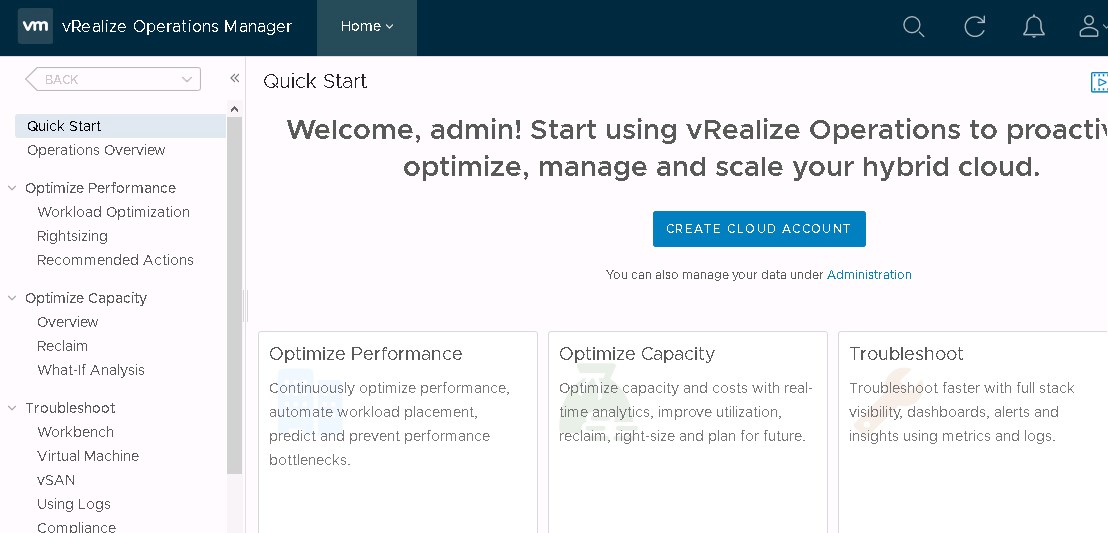
Your Horizon appliance is now ready for use.
-
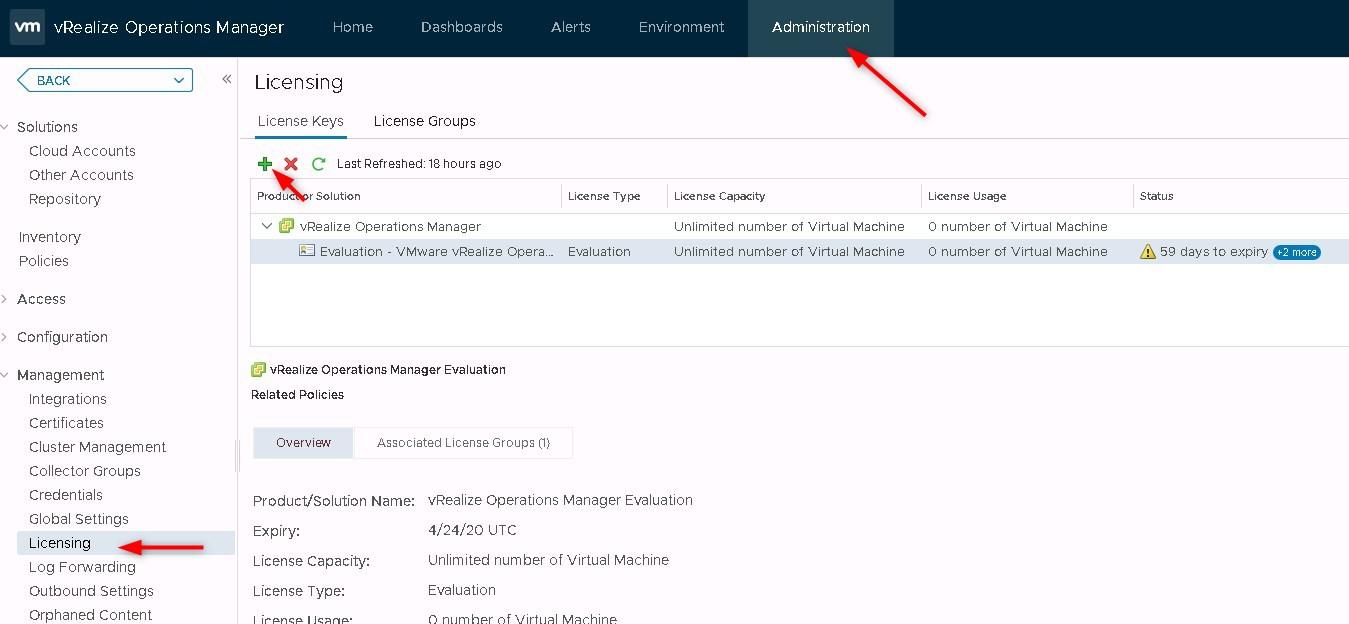
Now is a good time to add your license keys, otherwise, vRops for Horizon will not be functional. Go to Administration > Licensing > License Keys
-
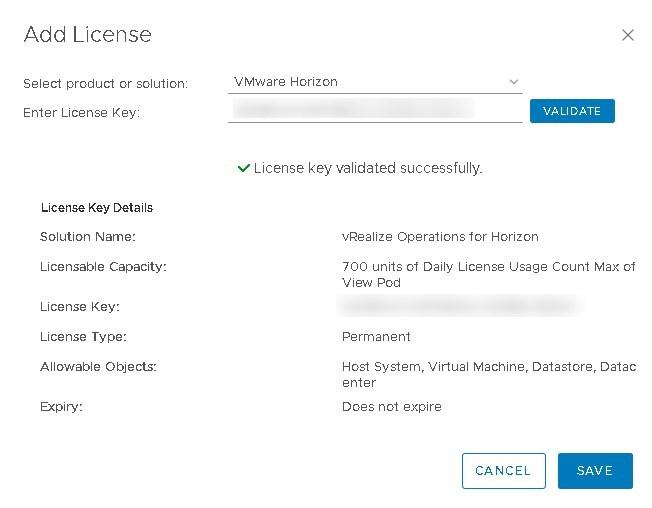
Select VMware Horizon and type your license key.
Note that you can use the key “eval” to obtain a 60 days evaluation period.
Horizon Agent
If you want metrics provided by the guest, the vRealize Operations Desktop Agent must be installed on the parent virtual machine, RDS host, or desktop source for the virtual machine that you want to monitor.
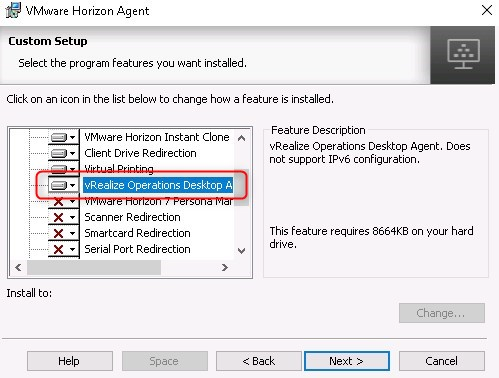
If you run Horizon 7.7 or earlier, the vROPS for Horizon desktop agent can be installed independently if the agents were installed without the option selected on the golden image.
Since Horizon 7.8, you must install the desktop agent when you install Horizon Agent. Note that if the agent is already installed without the feature, you don’t need to uninstall and reinstall the agent. You can use the silent install capability to add the feature. Copy the installer (same version as installed) on the golden image and run the following command against it (V4V is the vRops agent feature).
VMware-viewagent-y.y.y-xxxxxx.exe /s /v”/qn VDM_VC_MANAGED_AGENT=1 ADDLOCAL=V4V”
The machine will reboot to complete the installation. Then you need to recompose your pool as usual.
See the table in Desktop Agent to find the version included with your Horizon Agent and determine whether you need to install this version.
Configure the vCenter adapter
In order to get resource usage information on the infrastructure, we need to configure the vCenter adapter with the details of the vCenter being used by the VDI infrastructure.
-
Go to Administration > Solutions > Cloud Accounts > Click on Add Account.

-
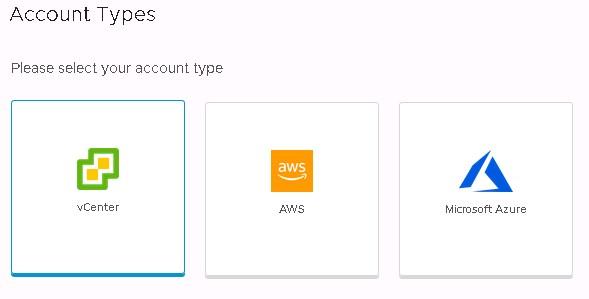
Click on vCenter.
-
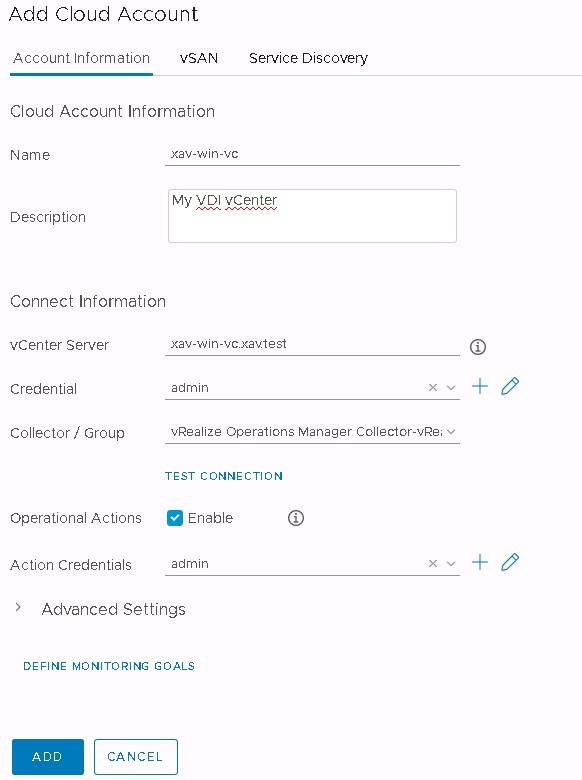
Fill in the details of this vCenter server.
Choose a meaningful name and description.
Type the vCenter FQDN or IP address in vCenter Server.
The credentials in the Connect Information section must have the “Performance > Modify Intervals” permission to collect guest metrics.
Click Test Connection to validate.
If you don’t want vRealize Operations to run actions against the vCenter, uncheck Operational Actions.
When you confirmed that all the settings are ok, click ADD.
Installation of the vRops for Horizon adapter
We now need to add the Horizon plugin, that we downloaded, to vRops (VMware-vrops-viewadapter-x.x.x-xxxxxxxx.pak).
-
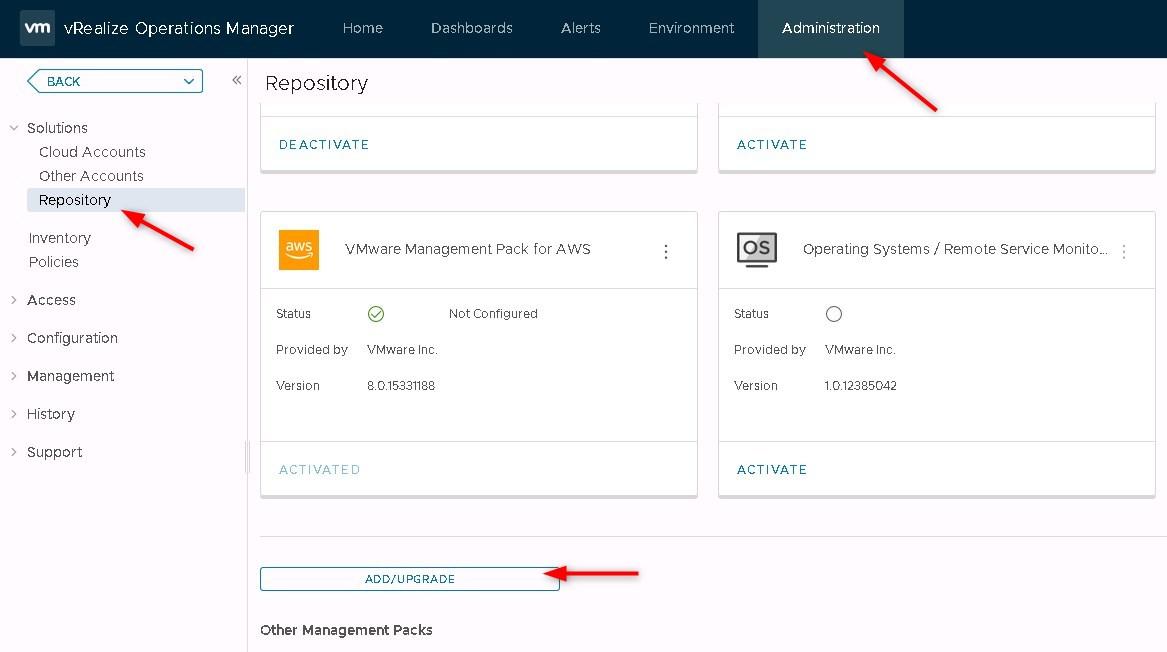
Go to Administration > Solutions > Repository > Scroll down and click on ADD/UPGRADE.
-
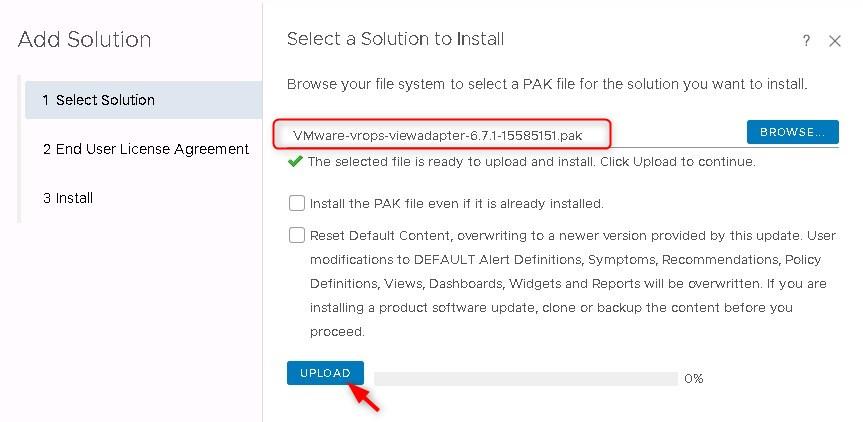
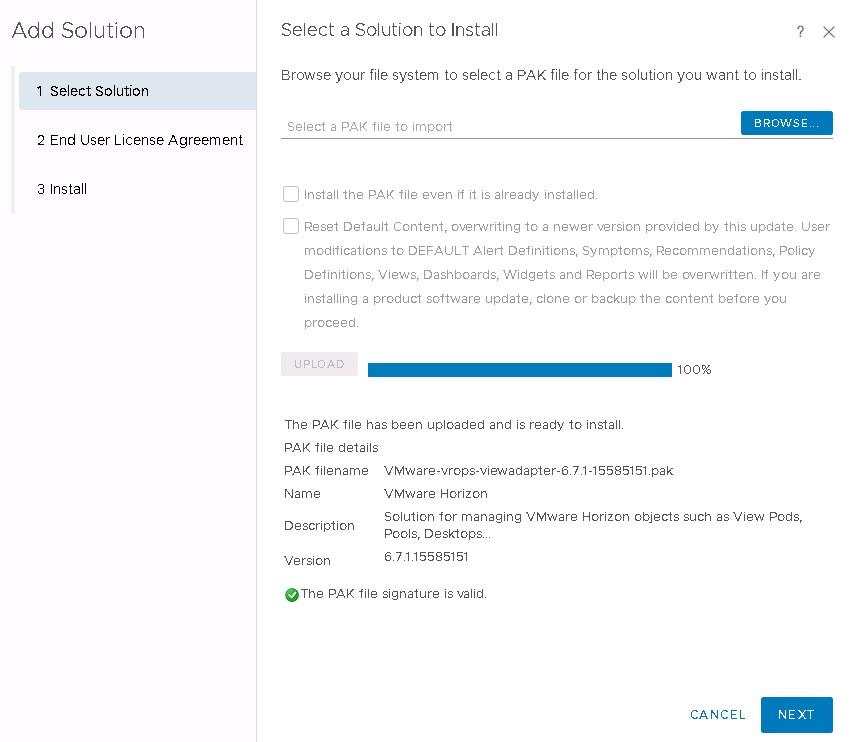
Browse to the .pak file and click UPLOAD.
-
The upload should be successful.
-
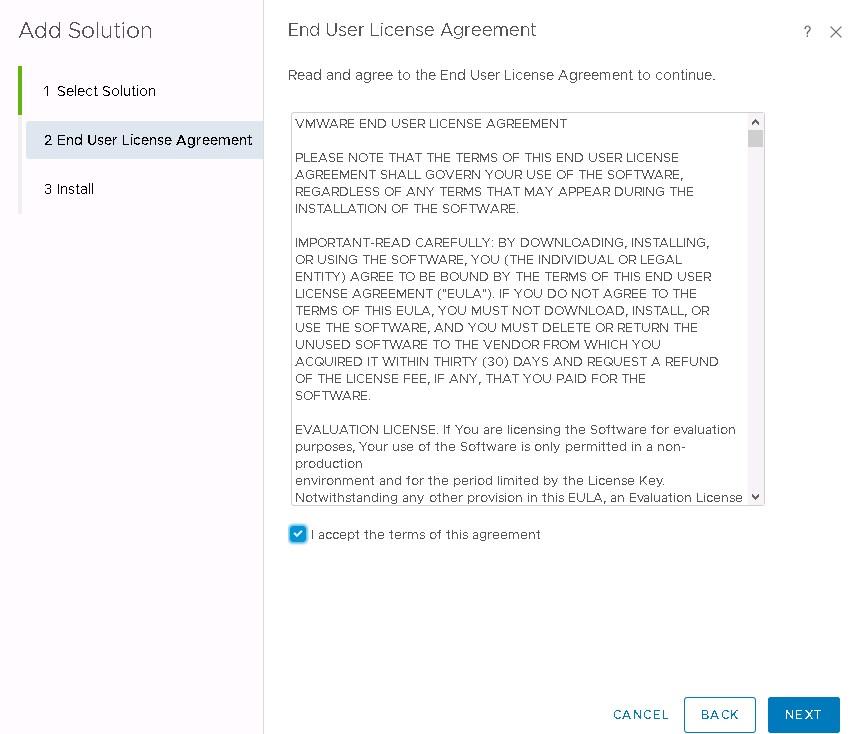
Accept the EULA and click Next.
-
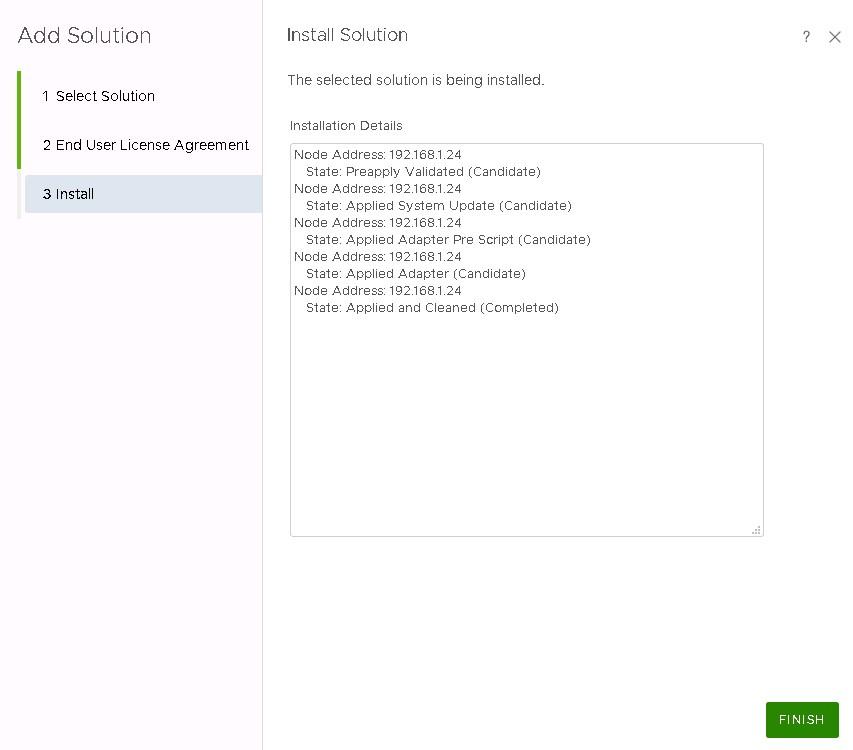
Click FINISH.
-
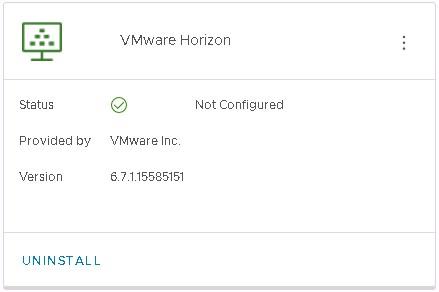
VMware Horizon should now appear in the list of repositories.
-
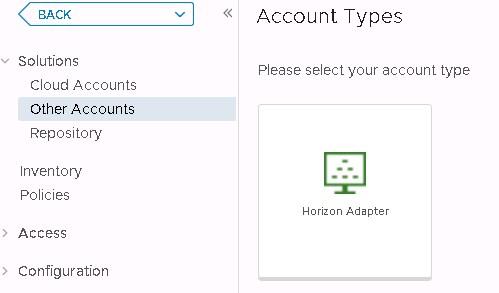
We now need to configure the Horizon adapter. Go to Administration > Solutions > Other Accounts > Add Account.

-
Click on the Horizon adapter to configure the account.
-
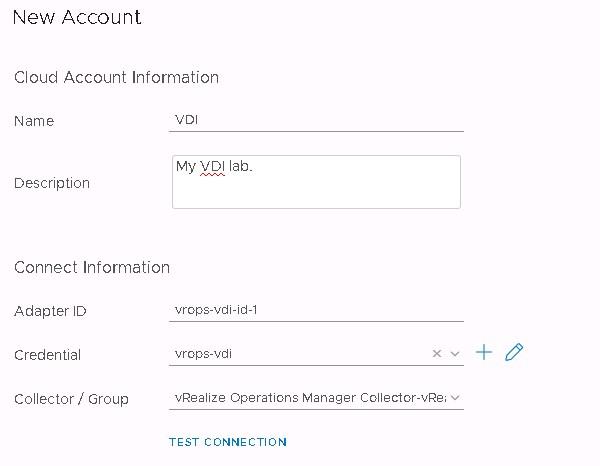
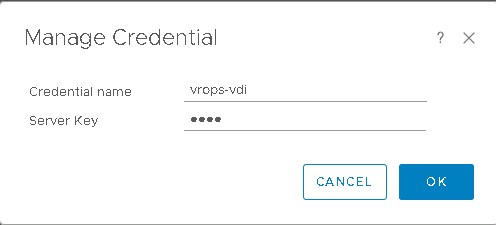
Enter a name and description for this account. Then type something meaningful in the Adapter ID field and create a set of credentials. These will be used by the Horizon broker on the connection server.
-
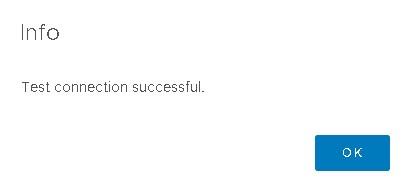
You can then click on TEST CONNECTION to make sure that it works.
-
The account appears in the list after you click OK.

The Horizon adapter is now ready on the Operations Manager appliance. The next step is to install the broker agent on one connection server.
Installation of the Horizon Broker Agent
The broker agent is a Windows service that runs on one Connection Server per pod and collects Horizon information that is then sent to the Horizon Adapter (vRops).
Only one broker agent can run per pod and it must have access to the Horizon database.
-
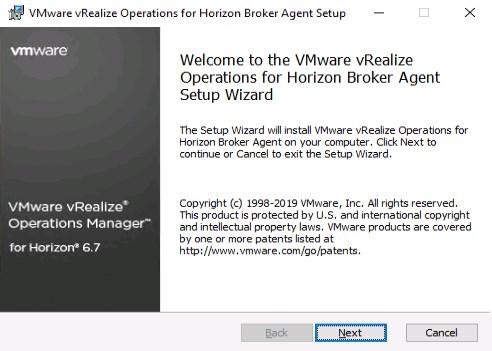
Choose one Connection Server per pod that will run the Broker agent and run the installer on it and click Next.
-
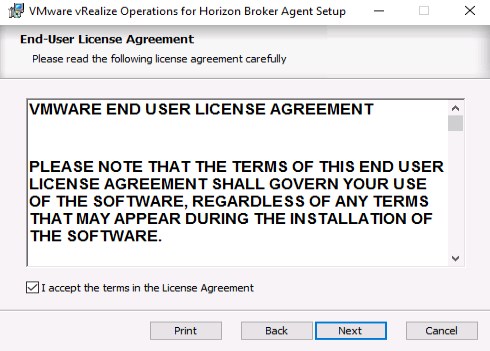
Accept the EULA (once again) and click Next.
-
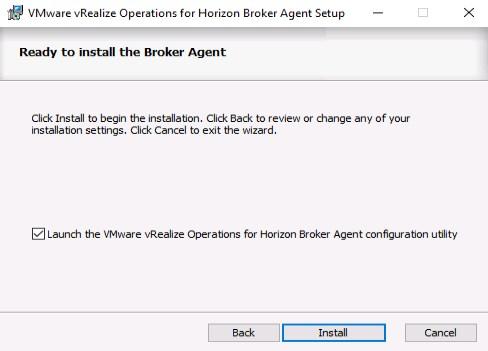
Check the checkbox to launch the configuration utility and click Install.
-
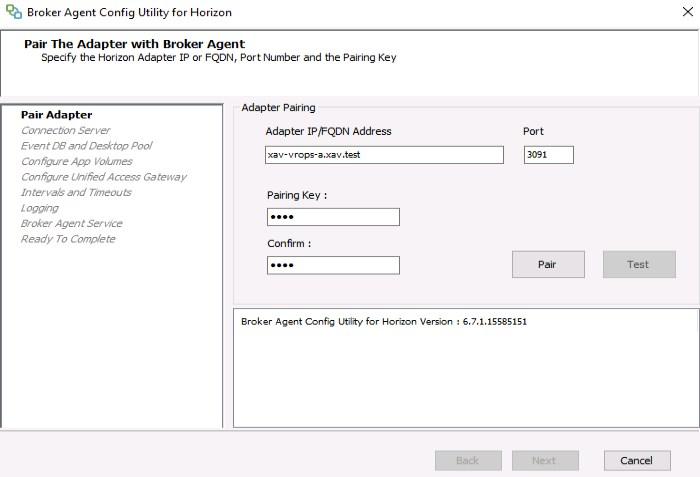
The configuration utility will automatically pop up after you click Finish.
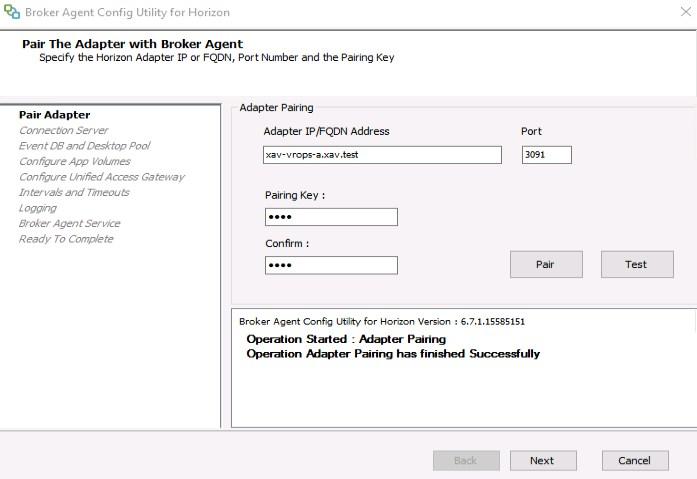
Type the FQDN or IP address of the Horizon adapter (vRops server)
Type 3091 for the port (default one)
Type the server key you specified when creating the credentials.
-
Click on Pair to validate and click Next.
-
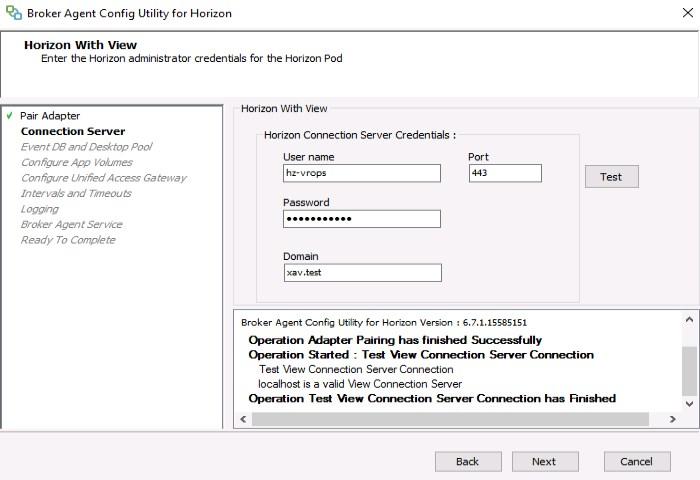
Type the username, password and domain of a Horizon Administrator account and click Test to validate. Then click Next.
-
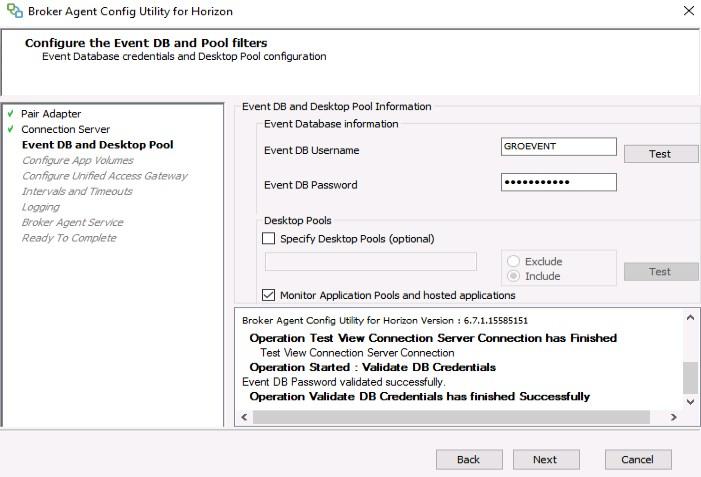
Configure the Events database username and password and click Test to validate. Then click Next.
You can choose to include or exclude specific pools by entering their IDs (comma separated). Leave the default to monitor everything.
-
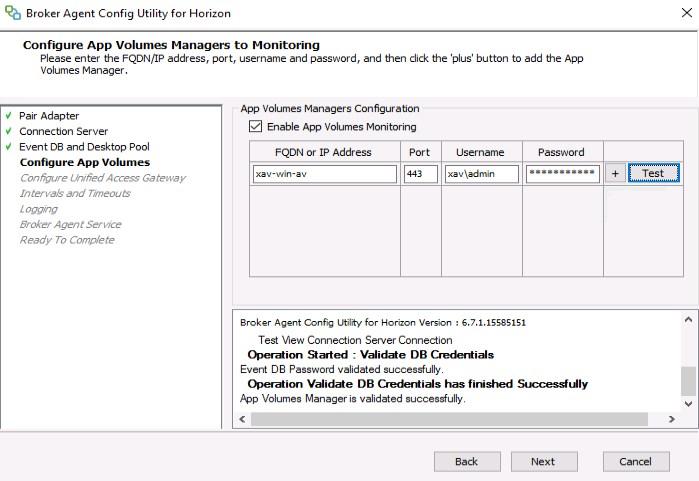
(Optional) In the next pane you can configure App Volumes servers to monitor user-assigned AppStacks.
-
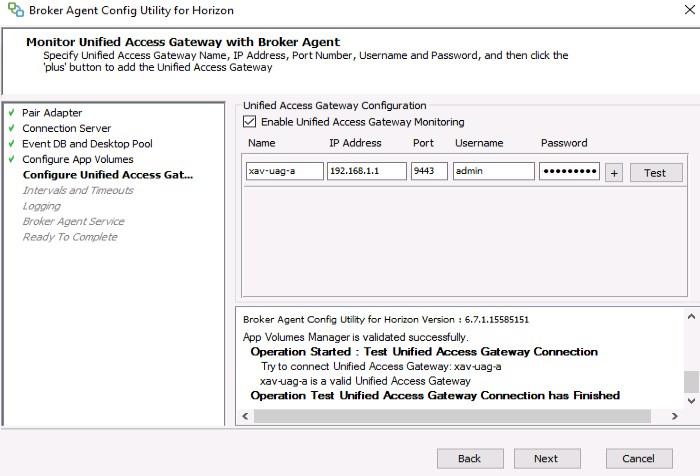
(Optional) In the next pane you can configure UAGs (Unified Access Gateways). Each UAG must be configured on only one broker agent.
-
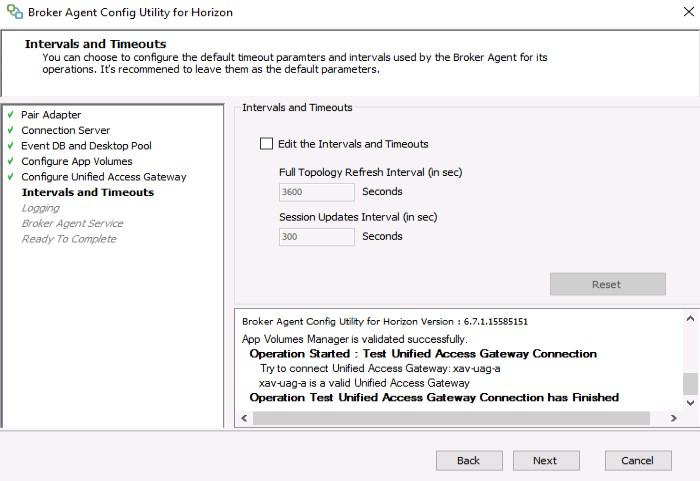
You can change the default refresh intervals for Full Topology (default = 1 hour) and Sessions (default = 5 minutes).
-
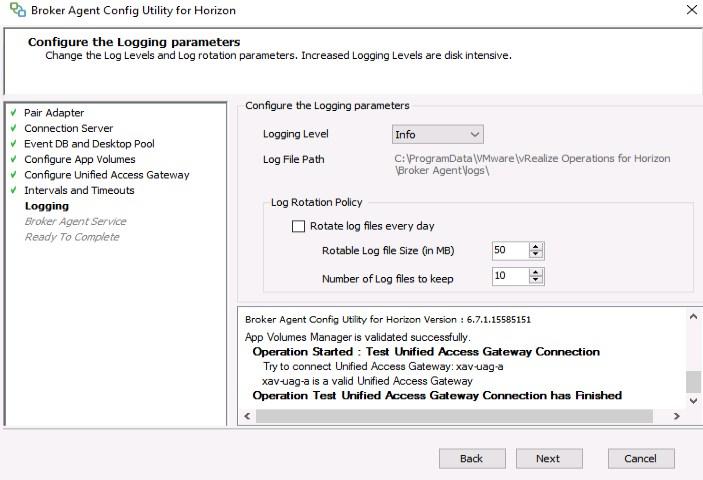
Then you can choose to change the default logging settings.
-
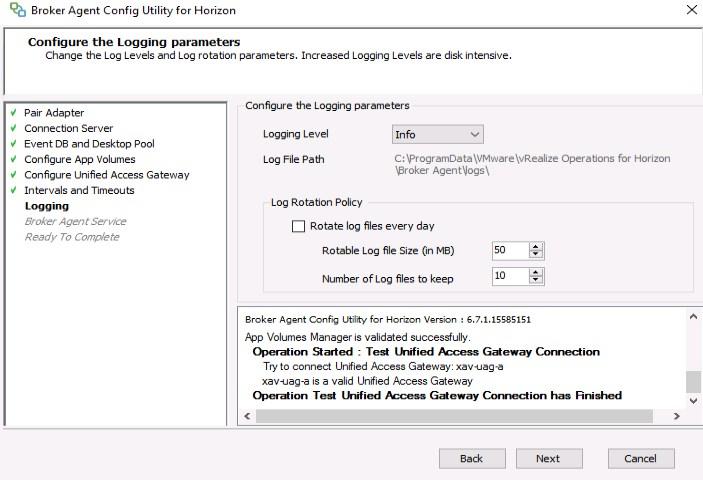
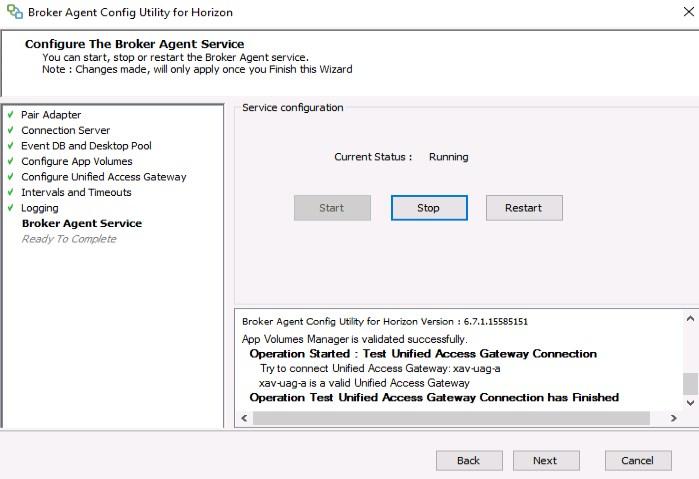
In the next window, start the service if not already running and click Next.
-
Finally, Complete the wizard by clicking Finish.
The Horizon adapter in vRops will now receive data about the Horizon infrastructure.
Horizon dashboards
You can now browse through the Horizon metrics gathered with the Horizon dashboards. These come embedded with the adapter and allow you to monitor various aspects of your VDI infrastructure. Some dashboards won’t be of any use to you depending on how you use Horizon View. You may not use Application pools or RDS hosts for instance.
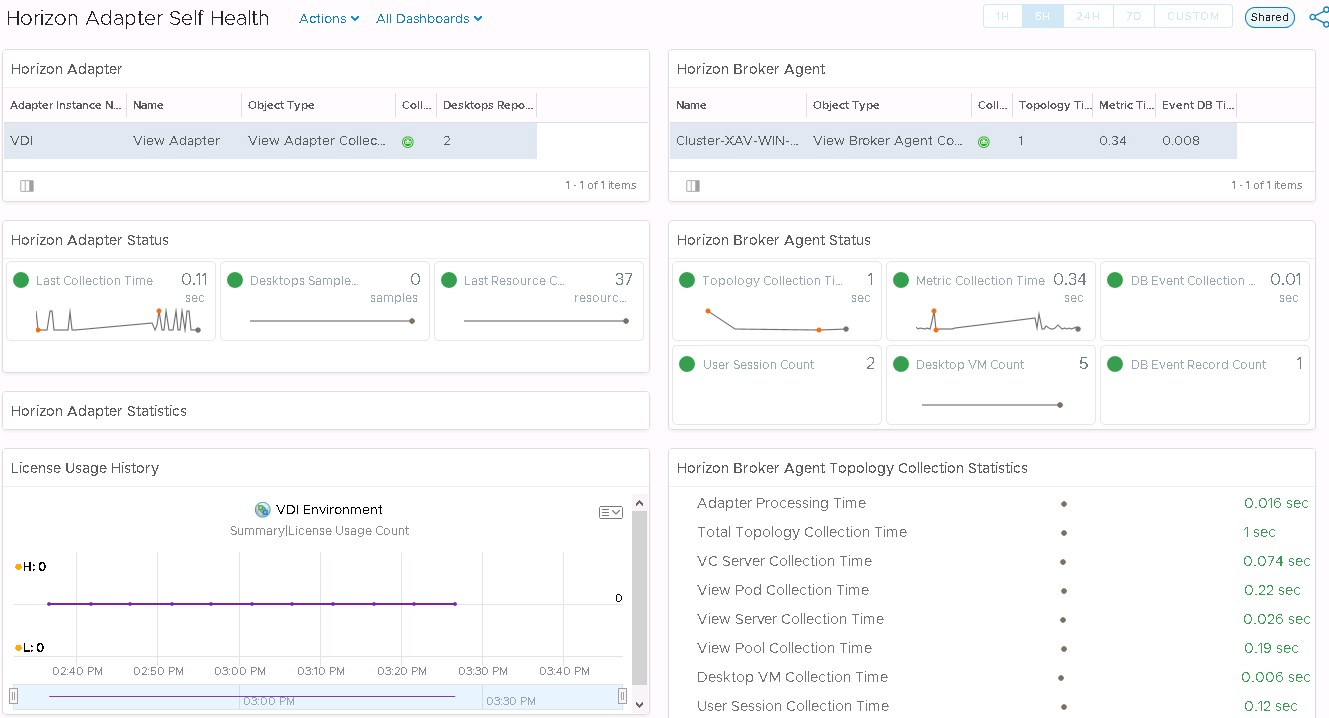
You can already check that everything is working as expected with the Horizon Adapter Self Health dashboard. This dashboard is a summary of the monitoring components with a number of utilization and performance metrics. As you can see below, both the adapter and the broker are collecting data which is fine.
Wrap up
In this blog, we described how to deploy and set up vRealize Operations Manager and its Horizon adapter to monitor the virtual desktop infrastructure. Monitoring is too often regarded as an optional part of the datacentre when it should really be one of the most critical ones.
Note that we only set up vRops for Horizon to collect data from your environment here. vRops is a very powerful tool that can do a lot more than displaying metrics in dashboards. You can find more advanced documentation in the administration guides of vRops and the Horizon adapter.
As always, if there is anything you wish to ask about the subject of vRealize Operations for Horizon, let me know in the comments below and I’ll get back to you!
System Administrators should also know that Altaro offers a free VMware Troubleshooting Guide with many tips on how to quickly and efficiently fix common issues, thus ensuring a smooth-running environment.


Not a DOJO Member yet?
Join thousands of other IT pros and receive a weekly roundup email with the latest content & updates!


