Save to My DOJO
This being the first time I installed VMware Workstation Pro on Linux – as opposed to installing it on Windows, my OS of choice – made this post a learn-as-you-go exercise and a fun one at that. I will be covering version 14, which is the latest release of Workstation at the time of writing. The documentation and release notes for it are available here and here. To remain in theme, 8 New Features in VMware Workstation 14 Pro is definitely worth a read if you’re new to this latest release or to Workstation in general.
Choosing a Linux Host
The documentation for the product, from what I read at least, does not really specify or suggest which Linux distro to go for. Thankfully, this KB article provides a complete list of supported host Linux operating systems, so I’ll be going through it. Here’s a condensed version.
| OS Vendor | OS Release |
| Canonical | Ubuntu 17.04 |
| Canonical | Ubuntu 16.04 |
| CentOS | CentOS 7.4 |
| Debian | Debian 9.1 |
| Debian | Debian 9.0 |
| Debian | Debian 8.9 |
| Microsoft | Windows Server 2016 |
| Microsoft | Windows Server 2012 R2 |
| Microsoft | Windows Server 2012 |
| Microsoft | Windows Server 2008 R2 SP1 |
| Red Hat | Fedora 26 |
| Red Hat | Fedora 25 |
| Red Hat | Red Hat Enterprise Linux 7.4 |
| Red Hat | Red Hat Enterprise Linux 7.3 |
| Red Hat | Red Hat Enterprise Linux 6.9 |
| SUSE | SUSE Linux Enterprise Server/Desktop 12 SP3 |
| SUSE | openSUSE 42.3 |
In all cases, the host OS must be 64-bit. For this post, I’ve chosen to install Workstation on CentOS 7.4. Although not required, I also chose to install X Windows to make life a little bit easier although plain old terminal will do just fine.
Before installing …
Checking the Linux version
If you choose to install Workstation on an existing Centos machine, running either of these commands will tell you which version is currently installed.
lsb_release -d
rpm --query centos-release

Finding out which version of Centos you’re running
As shown, I’m running version 7.4 meaning I’m good to go. I must also add that I’m installing Workstation on a Centos VM. For all intents and purposes, Workstation will be running in nested mode. Though this is perfectly doable, it is not recommended that you do so mainly out of performance considerations.
If you’re installing Centos from scratch, head to download the latest version. I doubt that bandwidth or disk space will be an issue, but if they are, you can always download the minimal ISO and add any missing components and dependencies as you go along.
Downloading Workstation
VMware Workstation for Linux, which is distributed as an executable bundle, may be downloaded from my.vmware.com. I can’t recall the number of times I wrote this but remember, you need to sign up for an account before being able to download anything.
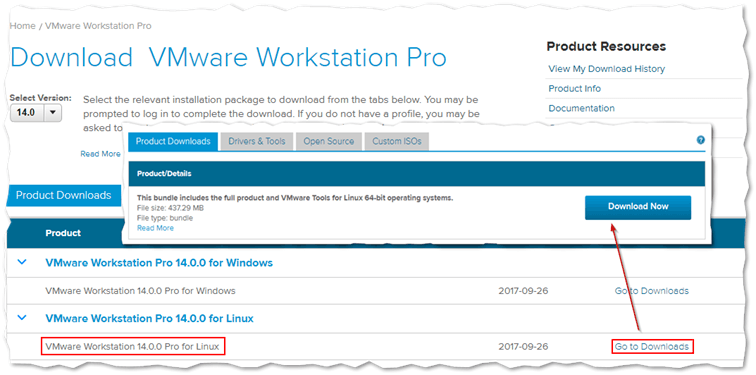
Downloading Workstation 14 Pro from my.vmware.com
If X Windows is installed, you can use a browser running on Linux to download Workstation directly to the filesystem. Alternatively, use wget or download the bundle on a Windows machine and upload it to Linux using WinSCP or similar.
Installing Workstation Pro on Linux
Once you’ve finished setting up the Linux host, log in as root. It helps to issue a yum update command just to bring your Linux install to the latest patch level and version.
I downloaded the Workstation bundle file to a temp directory I named todelete. The next item on the to-do list is to make the bundle file executable. This is easily taken care of by running chmod on the file using a terminal window, like so;
chmod a+x VMware-Workstation-Full-14.0.0-6661328.x86_64.bundle

Making a file executable in Linux
You’ll see that the file is now displayed in green, meaning it can be executed using the ./<file> convention.
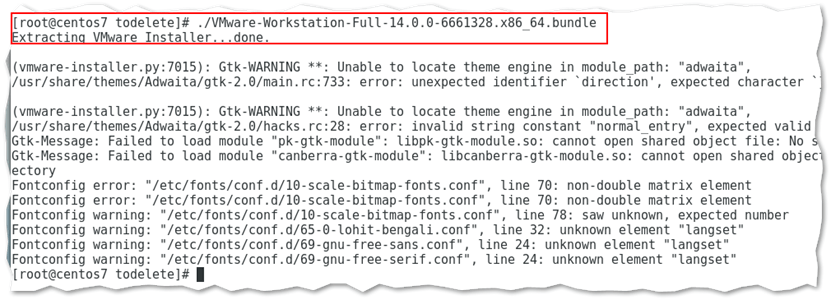
Running the Workstation 14 Pro installer from a terminal window on Centos
I got a few Gtk warnings but the installer works just fine as shown next. Gtk is a toolkit used to create graphical interfaces for application which is what the VMware Workstation Pro installer uses.
The VMware Workstation Pro Installer
On the first screen, press Next to accept the VMware Workstation – End User License Agreement.
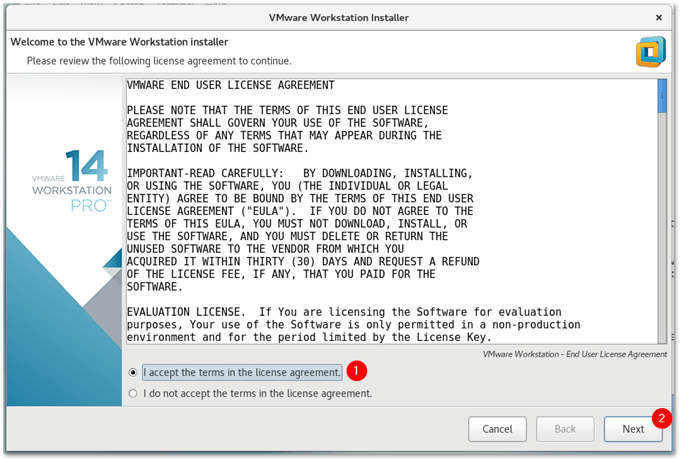
Accepting the Workstation EULA
On the second screen, select the first option and press Next to accept the VMware OVF Tool component for Linux – End User License Agreement.

Accepting the OVF Tool EULA
Select whether you want the product to check for updates on startup and press Next.
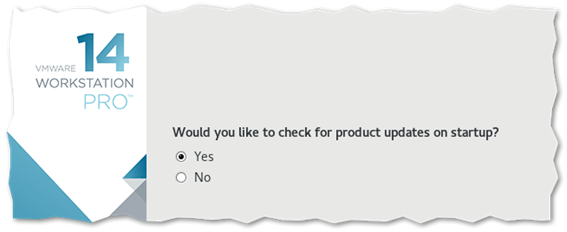
Setting the check for updates preference
Select whether you wish to participate in the customer experience improvement program or not. Press Next.

Setting the CEIP preference
Specify the user context under which Workstation Server runs. I went to the suggested setting which is root. Press Next.
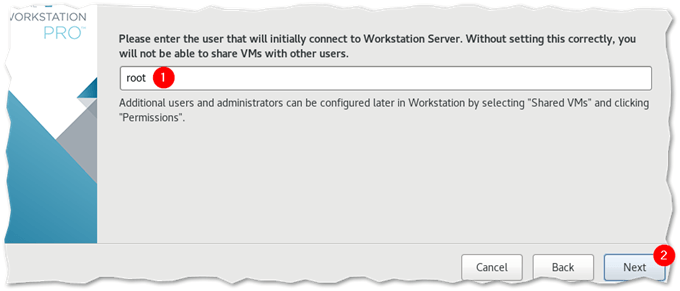
Specifying the user used to run the Workstation Server component
Select the default location for the virtual machines you’ll create. Press Next.

Setting the virtual machine location
Select the network port Workstation Server will be listening on and press Next. It’s best to stick with port 443, which is of course the standard port for https.

Setting the listening port for Workstation Server
You can optionally enter one of two types of licenses; upgrade or new install. If you leave the field empty, you are given the chance to try out Workstation Pro for up to 30 days.
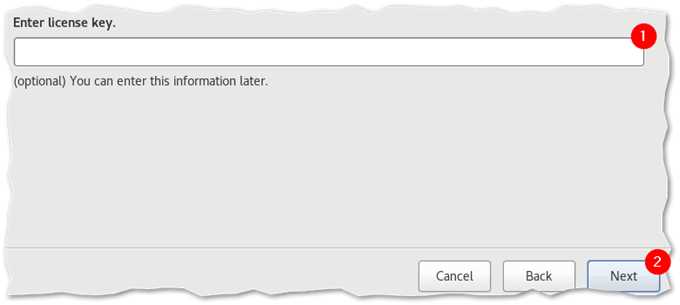
Workstation installer prompting for a license key
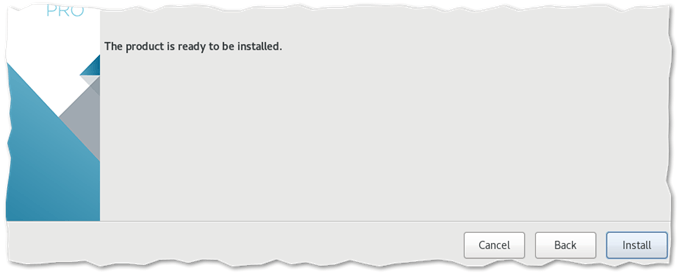
Press Install to begin the installation.
Wait for the installer to copy the required files and install/configure the respective components.
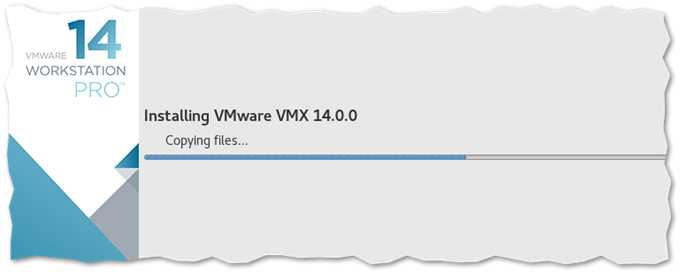
VMware Workstation 14 Pro installation in progress
In my case, the installation proceeded without any hiccups.
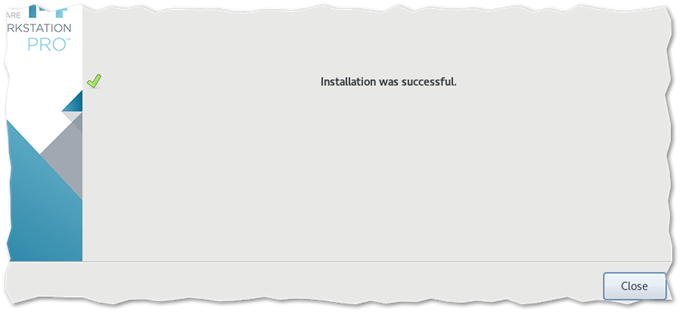
Workstation 14 Pro successfully installed
Give it a spin
If X Windows is available, an easy way to run Workstation Pro is via its application shortcut under System Tools. If you’re running Centos core, Workstation can be run using the next command from terminal.
/usr/bin/vmware &
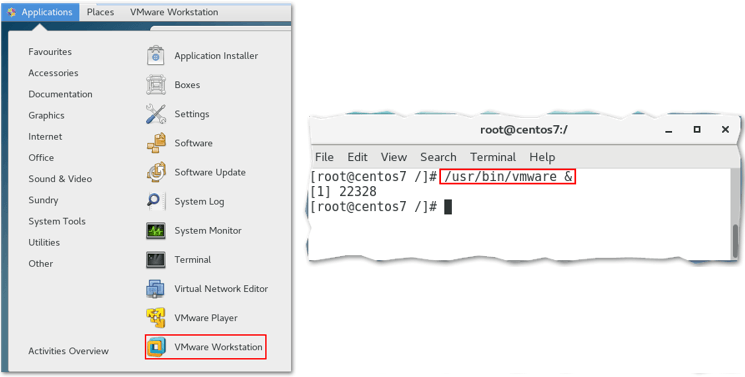
Launching Workstation from X Windows and a terminal
The first time Workstation is run, you will be prompted to enter a license key. As mentioned, this step is optional in that you are allowed to run Workstation for up to 30 days fully unlocked. However, once the trial period expires, you must enter a valid key to keep using the software.
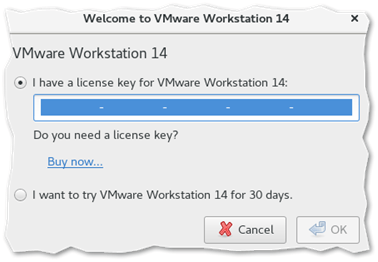
Workstation prompting for a license key
After pressing OK, you are taken to the Home screen and reminded – yet again – that you are running Workstation in evaluation mode. Pressing OK to disregard.
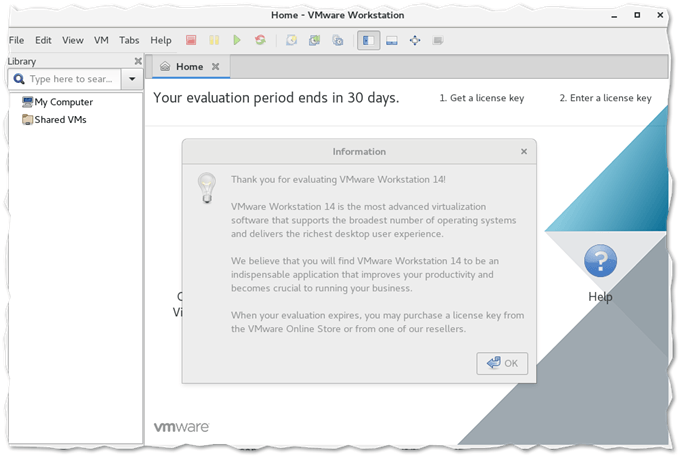
Running Workstation Pro for the first time
The following video is a walkthrough on how to create a VM under Workstation Pro running on Linux. The process is identical to that carried out on either Windows and probably Mac; I don’t have that much experience with the latter OS, so if you do and have tried this, by all means, drop a comment and share your experience.
Conclusion
Installing and running Workstation 14 Pro on a Linux host does not differ that much from doing the same on Windows or Mac. The product installer makes it a breeze to install this great desktop virtualization software.
For more interesting VMware posts, do have a look at the complete list of articles posted here.
[the_ad id=”4738″][the_ad id=”4796″]


Not a DOJO Member yet?
Join thousands of other IT pros and receive a weekly roundup email with the latest content & updates!


